How to create new Layar layers
In order to let student test Layar AR capabilities, 21 accounts with their respective databases have been set up at the augmentedrealitynyc.org server.
Key data for each student
Each student will have its own database to test Layar, and his own layar endpoint to configure his Layar account
Student 1
Database => augmenu0_student1
User => augmenu0_stdnt1
Password => student1
Student 2
Database => augmenu0_student2
User => augmenu0_stdnt2
Password => student2
Student 21
Database => augmenu0_student21
User => augmenu0_stdnt21
Password => student21
Layar databases
Each student has his own dedicated database to set up his Layar layers. To modify their layers or to create new ones, they will have to insert data in their database. To allow them to do so, a phpmyadmin application has been deployed. Students can access at the following URL:
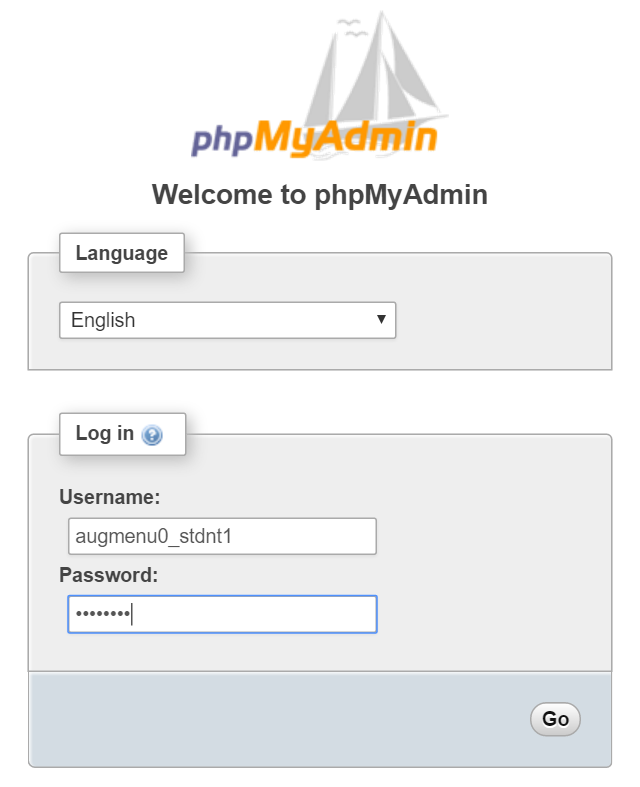
Students will log in with their user and password as stated before. For example student 1 will insert:
Username => augmenu0_stdnt1
Password => student1
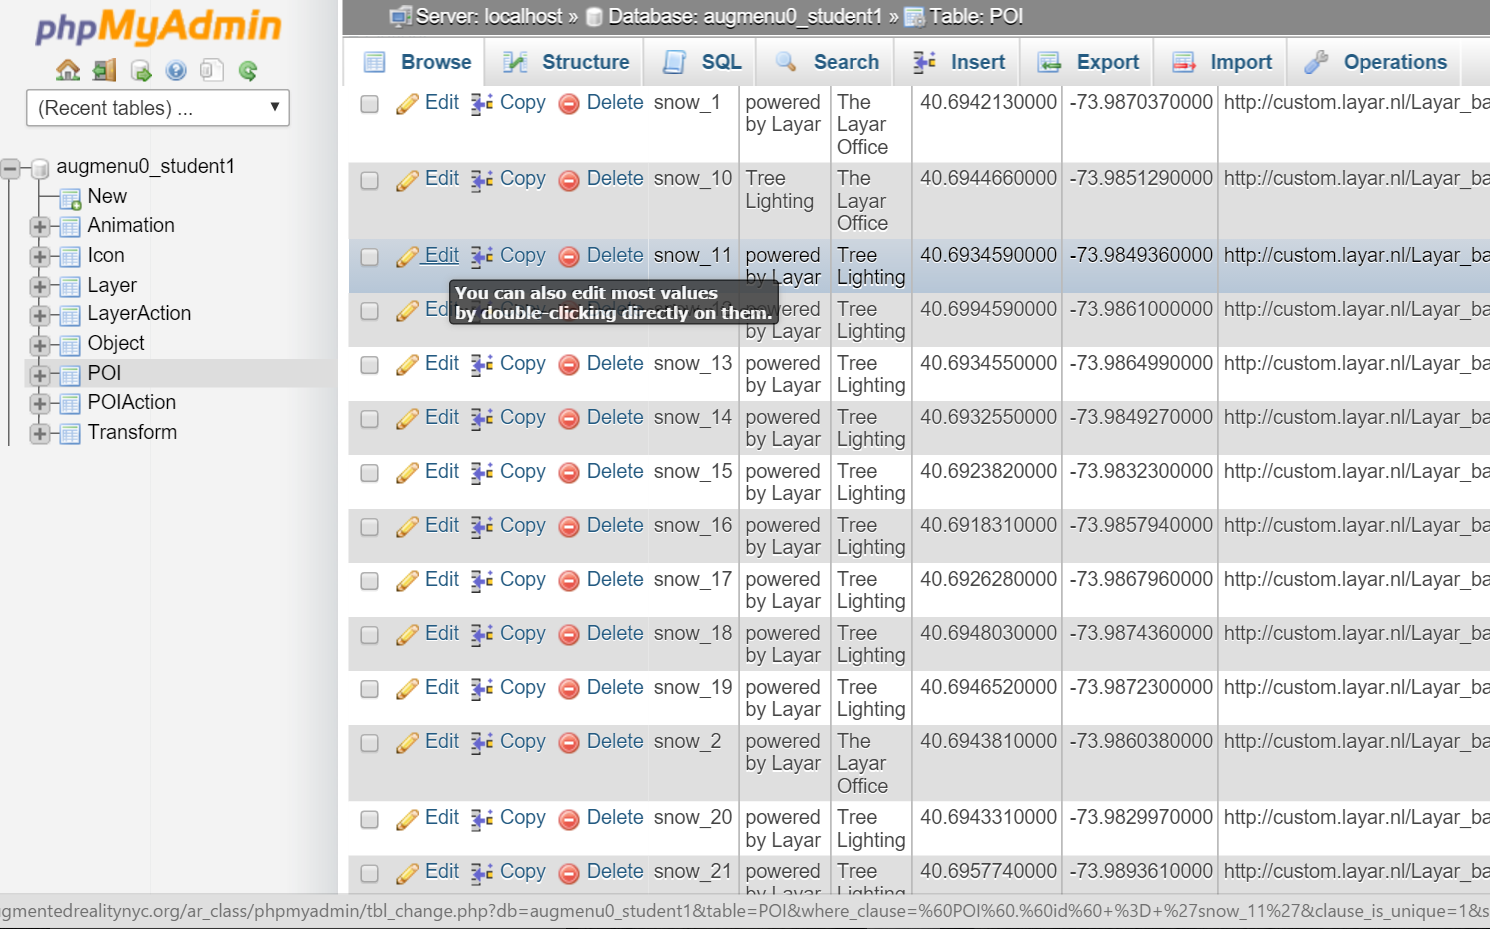
Once inside they will have access to their own database as shown in the next screenshot.

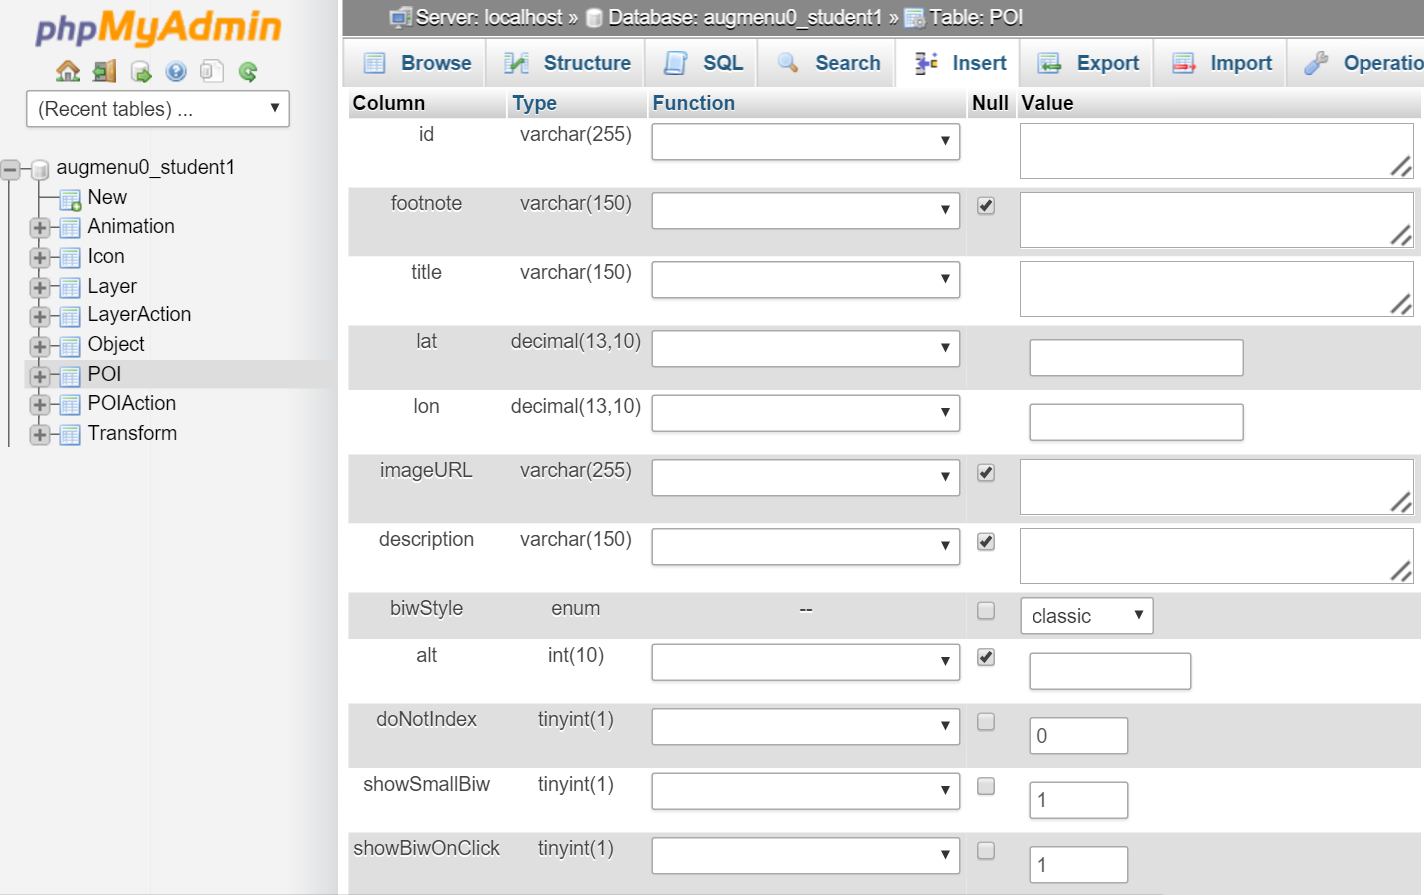
When selecting a table, students will be able to see their data, add new information or update the existing data:
Layar account
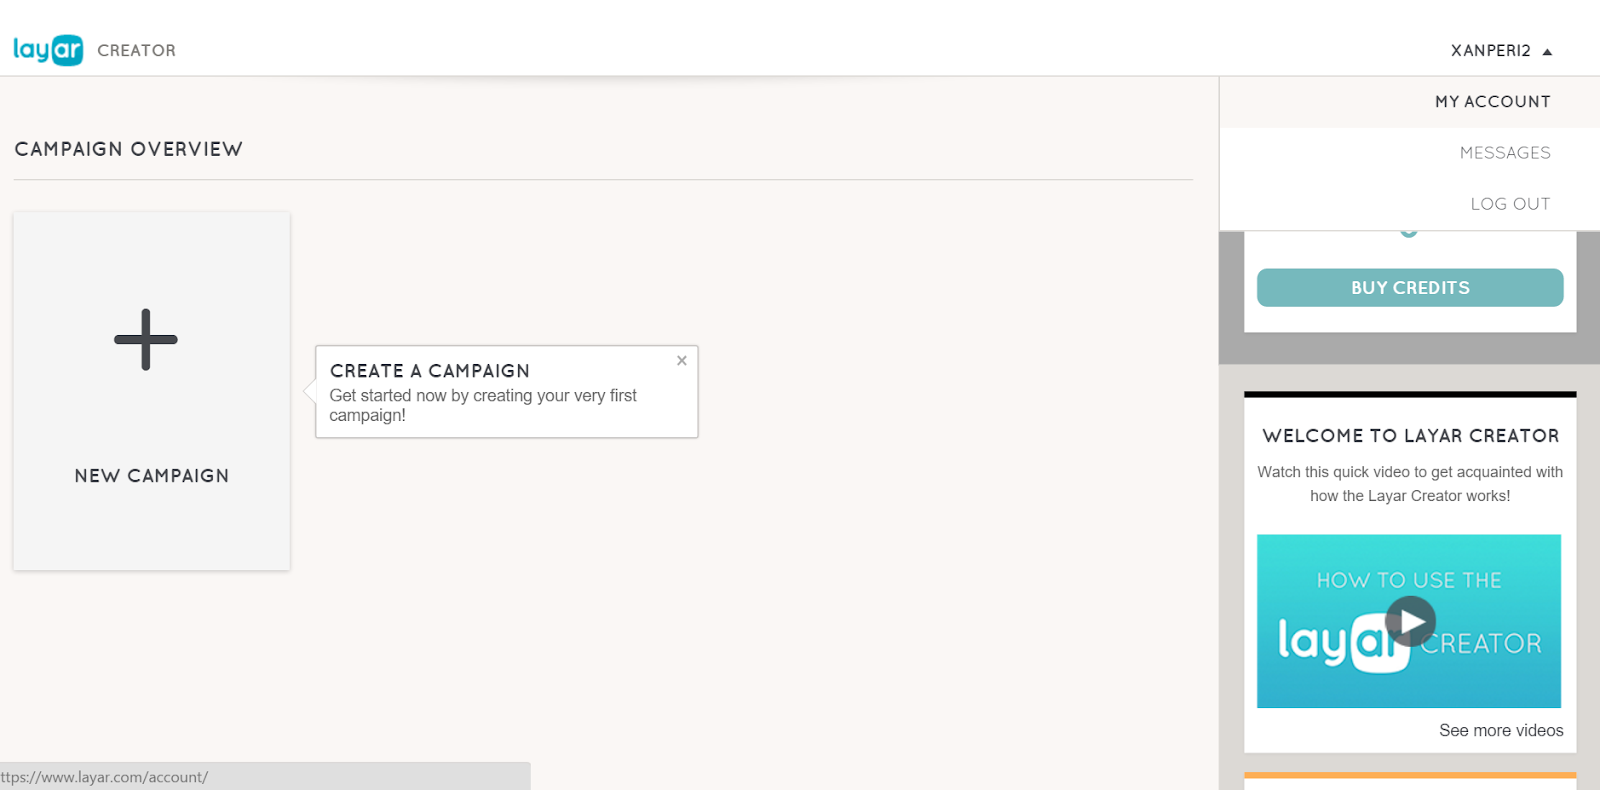
Besides the database, students will have to create their own free Layar account. For that they should go to:
After registering, they will need to verify their email address. Inside the layar page they’ll find:
Then, they must go to:
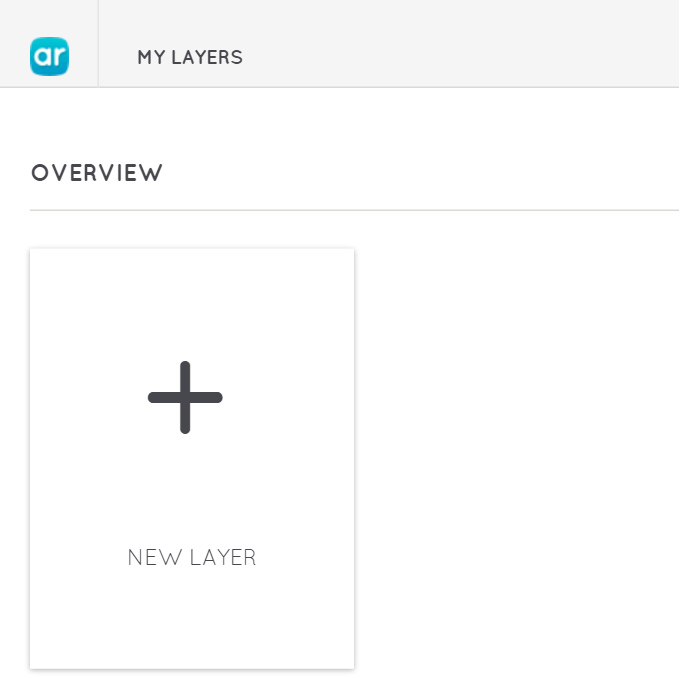
After clicking in “New layer” a dialog will appear. Introduce layer title and select Geo Layer.

Then, they’ll be redirected to the layer overview page. Where

After setting the “Layer title”, the Layar name will be set. This string is the id of the layer and it should be introduced this way into the database.The next step is to click on API.

The crucial step here is to fill the API URL field, which is the layar endpoint. As stated at the beginning of this document, each student has his own layar endpoint. In the example we are following, for the student 1, the API URL field should be:
Also, it is highly recommended to set the minimum API version to at least 8.3, since it is necessary if they want to load 3D models.
After setting the API tab information, they could directly go to the test tab to check if everything is as it should be.
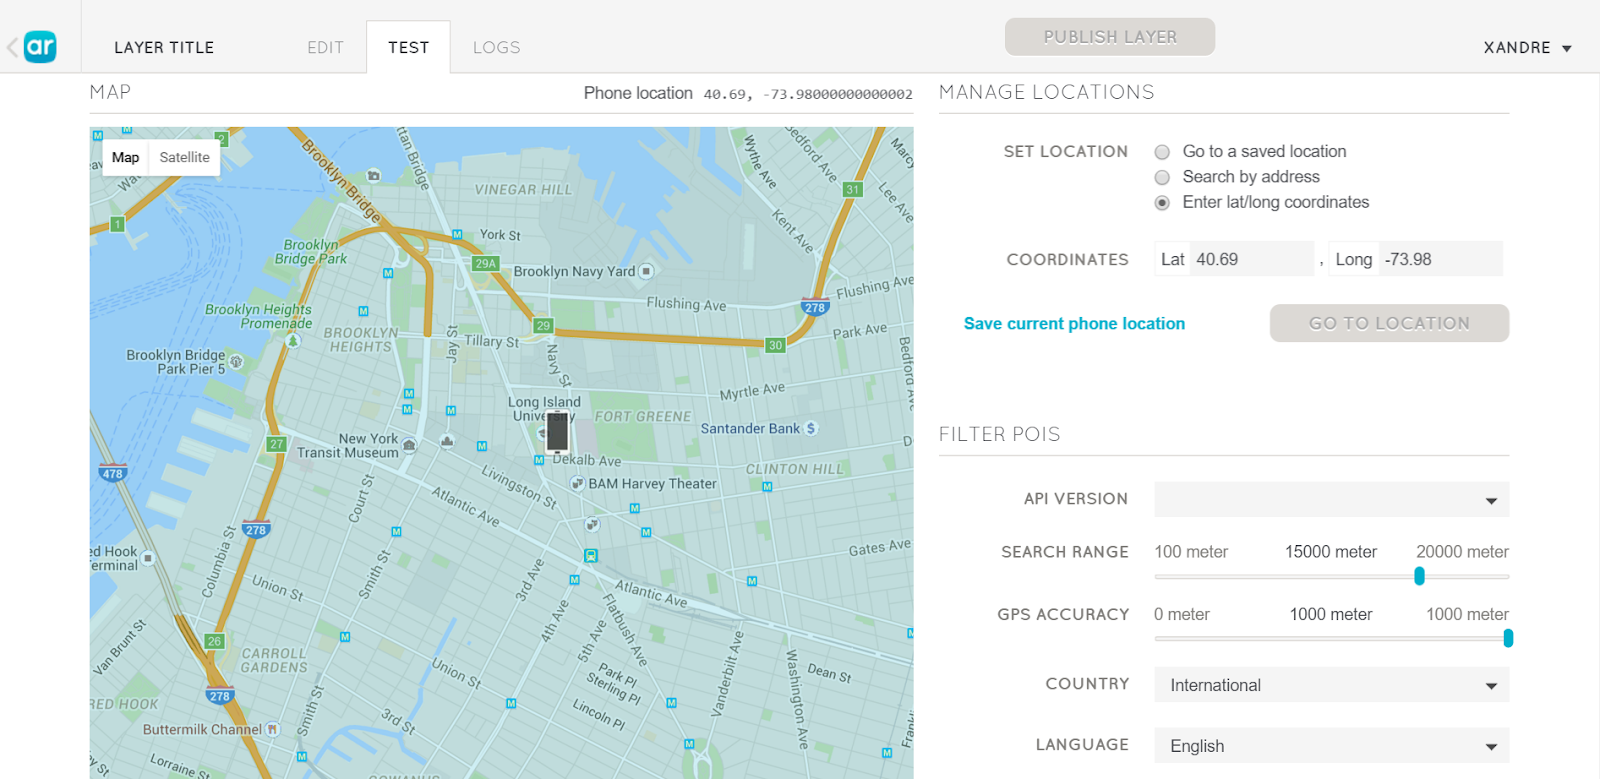
Next, they should fill the Filter POIS form, selecting a range as wide as possible and click in Load POIS. If there are some POIS in range they should now appear in the map.

After clicking in Load POIS, the web will search for the POIS inside the search range. They must have some POIS inside the range to correctly test the layer.

No comments:
Post a Comment